Our recommendation
For a bright garage-door scene, start with the BenQ TH575. For singing pumpkins and close-range props, the Optoma GT2000HDR keeps the projector near the scene and reduces audience shadows. The Nebula Mars 3 is the easiest portable yard option, while the XGIMI MoGo 3 Pro suits a dark indoor window or a small prop rather than a whole facade.
Quick comparison
| Projector | Best for | Reported brightness | Native resolution |
|---|---|---|---|
| BenQ TH575 | Garage doors | 3,800 ANSI lm | 1080p |
| Optoma GT2000HDR | Singing pumpkins and props | 3,500 lm | 1080p |
| Nebula Mars 3 | Portable yard setup | 1,000 ANSI lm | 1080p |
| XGIMI MoGo 3 Pro | Window and indoor props | 450 ISO lm | 1080p |
| Epson CO-FH02 | Bright indoor window | 3,000 ISO lm | 1080p |
| ViewSonic LX700-4K | Detailed repeated display | 3,500 ANSI lm | 4K UHD |
| XGIMI HORIZON 20 Max | Premium house section | 5,700 ISO lm | 4K UHD |
BenQ TH575
Garage doors. A strong brightness-per-dollar choice for broad pale surfaces after dark.
Check price & availability (paid link) ↗Optoma GT2000HDR
Singing pumpkins and props. Short throw helps place a large image close to the yard scene and reduces audience shadows.
Check price & availability (paid link) ↗Nebula Mars 3
Portable yard setup. Battery, handle, stand, and outdoor-oriented protection are convenient for a short evening show.
Check price & availability (paid link) ↗XGIMI MoGo 3 Pro
Window and indoor props. Small and easy to angle for a dark-room rear projection or compact prop.
Check price & availability (paid link) ↗Epson CO-FH02
Bright indoor window. Useful color and white output for projecting from inside toward a window treatment.
ViewSonic LX700-4K
Detailed repeated display. Laser longevity and 4K detail fit a reusable mapped scene with fine architectural effects.
XGIMI HORIZON 20 Max
Premium house section. High reported output and flexible optics suit a larger, more demanding seasonal project.
Editorial note: This launch article is an initial research shortlist, not a claim that every model has been personally tested. Specifications and availability should be verified before purchase. As an Amazon Associate I earn from qualifying purchases.
How many lumens do you need for Halloween projection?
Brightness is the first decision and the one most people get wrong in both directions. Projector light spreads across the image area, so making the picture twice as wide spreads the same light over roughly four times the surface. A projector that looks blazing on a single pumpkin can look grey and washed out stretched across a garage door.
As rough targets after genuine darkness, on a mid-tone surface: a rear-projected window in a dark room can work from a few hundred standardized lumens. A single-car garage door is comfortable somewhere around 3,000 to 5,000. A two-story facade, dark brick, or anything competing with a streetlight needs considerably more, or needs the display broken into smaller mapped sections rather than one stretched image.
Compare the numbers carefully, because they are not all measured the same way. ANSI lumens and ISO lumens follow published measurement standards. A bare lumens figure with no standard attached is a marketing number and is frequently two to three times higher than the same projector would measure under ANSI. The comparison table above lists whichever figure each manufacturer publishes, which is exactly why the units are not uniform.
- Dark room, rear-projected window: a few hundred standardized lumens
- Porch props and pumpkins at close range: roughly 1,000 to 2,500
- Single-car garage door: roughly 3,000 to 5,000
- House facade or dark brick: 5,000 and up, or split into mapped sections
Halloween window projection from inside the house
Window projection is the most reliable Halloween effect for beginners, because the room behind the glass gives you darkness you control. Put the projector inside, aim it at the window, and let the material in the window carry the image.
Do not project through bare glass and expect a floating ghost. Clear glass passes the light straight through to the yard. You need a diffusion surface in the window itself: purpose-made rear-projection film, a taut white sheet, tracing paper, or frosted shower-curtain material all work with different amounts of brightness loss. Test the one you have before show night, because they are not equivalent.
Two details catch people out. The image arrives mirrored from the street side, so flip it horizontally in your player or mapping app. And the room behind the window must stay dark, or interior light will wash out the effect from outside no matter how bright the projector is.
Singing pumpkins and porch props
Pumpkin faces and prop effects are close-range work, which changes what matters. Total brightness stops being the constraint and placement becomes one. You are projecting a small, precise image onto irregular three-dimensional objects from a few feet away.
A short-throw projector earns its place here. It produces a wide image from close in, which keeps the beam path short and keeps trick-or-treaters from casting their own shadows across your pumpkins as they walk up. A standard-throw projector needs to sit further back, which usually means putting it where people walk.
Masking matters more than resolution. Build a black mask around each face so light falls only on the pumpkin and not on the porch behind it. The illusion comes from the surrounding darkness being genuinely dark, which is a mapping job rather than a hardware one.
Garage door and house facade projection
A garage door is the best large Halloween surface most houses have: broad, flat, pale, and already facing the street. It is also the point where brightness genuinely becomes the limiting factor, because you are lighting a large area that is competing with porch lights and streetlights.
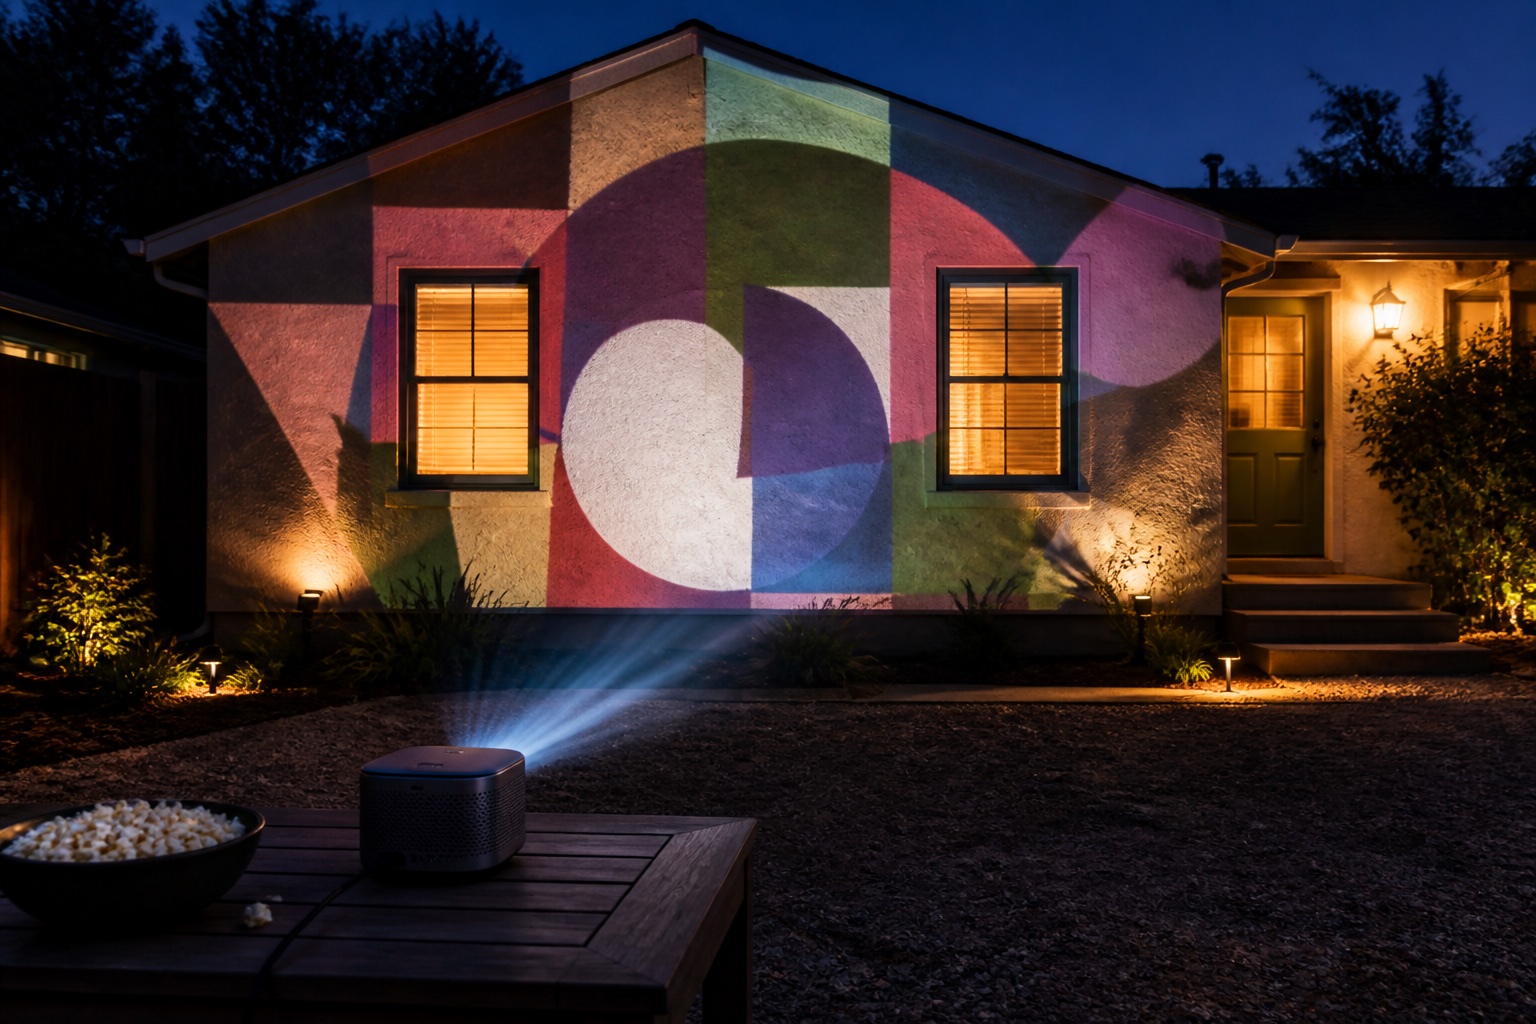
For a facade, resist the temptation to cover the whole house. A bright, well-aligned scene on one section reads as intentional. A dim image stretched across brick, windows and gutters reads as a projector pointed at a house. Windows are the specific problem: they swallow light instead of reflecting it, so map around them or use them deliberately as dark shapes in the design.
If streetlights are washing out your surface, you have three levers before buying a brighter projector: shrink the image, move the projector closer, and increase contrast in the content itself. Bold shapes on black outperform detailed artwork on every exterior surface.
Where to get Halloween projection videos
A projector produces the image, but the effect comes from the content, and this is where most first Halloween displays fall down. Prerecorded effect libraries such as AtmosFX sell loops built specifically for window projection and prop projection, with the performers already keyed onto black backgrounds so they read correctly against a dark surface.
Whatever the source, the content rules are the same. Effects intended for projection are shot or rendered on pure black, because black is simply where the projector emits no light. A normal video with a grey or lit background will project that background as a visible glowing rectangle on your house.
If you are making your own, favour bold shapes, bright edges and controlled motion. Fine dark detail disappears on brick and under stray light. Build breathing room into the loop as well: constant maximum motion turns into visual noise from the sidewalk, and it is the thing most likely to generate complaints.
Front projection or rear projection outdoors?
Front projection puts the projector in the yard aimed at the house. It is brighter on most exterior surfaces and it is the only option for garage doors and facades, but the beam is out in the open where guests walk through it. Mount high, mount low, or get close enough that people are not standing in the light.
Rear projection keeps the equipment indoors, removes shadow problems entirely, and protects the projector from weather. It only works where you have a window or a prepared translucent panel, and you pay for it in brightness lost through the diffusion material.
Many good displays use both: rear projection for window scenes, front projection for the garage door, driven by two cheap projectors rather than one expensive one. Two modest projectors covering two well-chosen surfaces almost always beat one bright projector trying to cover everything.
Weather, cables and trick-or-treater safety
Most consumer projectors are not rain-rated. Protect the unit from rain, sprinklers, dew and condensation while preserving the intake and exhaust clearances the manufacturer specifies. A sealed plastic storage bin is the common improvisation and it is genuinely unsafe, because a projector that cannot exhaust heat will throttle, shut down, or fail.
Halloween is the one night of the year when strangers, many of them children, walk across your yard in the dark. Keep cables out of walking paths or use rated cable covers. Put the projector on a stable base that will survive being bumped. Keep steps and edges clearly visible rather than covered in patterns that hide them.
Do not aim bright animated content toward the road. A driver distracted by a projected face is a genuine risk on a night with unusual numbers of pedestrians, and it is the fastest way to have a neighbour complain about the whole display.
Show-night checklist
Set up days before, not on the night. Start the system before dusk, verify every media file plays, then wait for real darkness before judging brightness; content that looks perfect at twilight is often too dim or too harsh once it is genuinely dark.
Lock everything that can move on its own. Disable automatic keystone, auto-focus and screen-fit features, because a projector that re-frames itself mid-show will break your masks. Confirm the source device will not sleep, show notifications, rotate, or display a low-battery warning in the middle of the loop.
Have a fallback ready: a simple full-frame video version of the show, a spare adapter, a labelled cable, and a way to shut the projection down without walking through the audience path. Then watch the entire loop from the sidewalk, which is the only place the display actually gets judged.
Frequently asked questions
How many lumens are needed for Halloween projection?
A dark indoor window can work with a few hundred standardized lumens. A garage door commonly benefits from roughly 3,000 to 5,000 ANSI lumens after dark. Larger, darker, or partially lit surfaces need more, or the image should be split into smaller mapped sections.
Can I project Halloween videos from inside a window?
Yes, and it is the most reliable beginner effect. You need rear-projection material in the window rather than bare glass, the image flipped horizontally so it reads correctly from the street, and the room behind the window kept dark.
What projector is best for singing pumpkins?
A short-throw projector such as the Optoma GT2000HDR, because it covers the props from close range and keeps trick-or-treaters from casting shadows across the faces. Total brightness matters less than placement and masking at that distance.
Do I need a special projector for Halloween, or will a normal one work?
A normal home projector works. There is no such thing as a Halloween-specific projector; what matters is brightness matched to your surface size, a sensible throw distance, and software that lets you mask the image to the shape you are projecting onto.
Can I leave a projector outside in the rain on Halloween?
Not unless the manufacturer explicitly rates it for exposure, which almost none do. Shelter it from rain, sprinklers and dew while leaving the ventilation intakes and exhausts clear. Never run a projector inside a sealed container.
Where do I get Halloween projection effects?
Commercial libraries such as AtmosFX sell loops made for window and prop projection, with performers keyed onto black backgrounds. Any content you use should be rendered on pure black, because a lit background will project as a glowing rectangle on your house.
Why does my Halloween projection look washed out?
Usually the image is too large, the surface is competing with porch or street lighting, or the content has a non-black background. Shrink the image first, since brightness is spread across image area, then increase contrast in the content before considering a brighter projector.
How far should the projector be from the garage door?
It depends on the projector throw ratio rather than a fixed distance. Multiply your target image width by the throw ratio to get the lens distance, or use a throw-distance calculator. A short-throw model covers the same width from much closer than a standard model.
Prices, availability, and specifications can change by market and date. Confirm current manufacturer documentation and the retailer listing before purchasing.